

Creating 3D product models is now easier than ever with tools like Polymuse. Whether you’re a designer, marketer, or business owner, Polymuse helps you bring your ideas to life in 3D. This guide will walk you through everything you need to know about creating 3D product models using Polymuse.
Table of Contents
Key Features of Polymuse
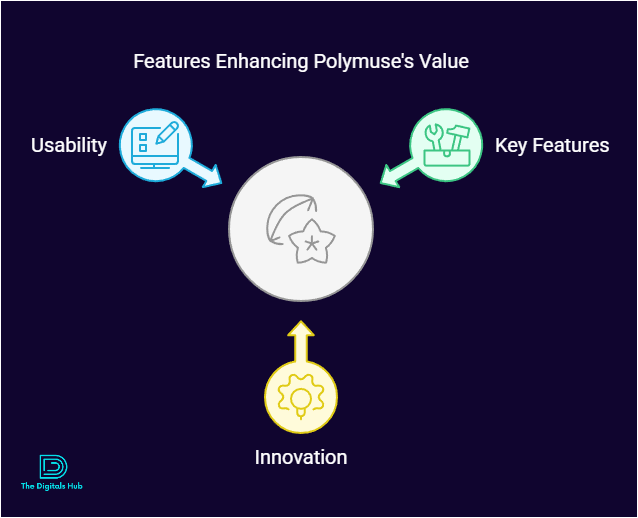
Before diving into the process, let’s look at what makes Polymuse a great tool for 3D modeling:
- User-Friendly Interface: Easy to use, even for beginners.
- Realistic Rendering: Create lifelike 3D models that look professional.
- Customizable Templates: Save time with pre-designed templates.
- Cross-Platform Compatibility: Works on multiple devices and operating systems.
- Affordable Pricing: A cost-effective solution for small businesses and individuals.
Why Use Polymuse for 3D Product Modeling?
- Boost Sales: Showcase your products in 3D to attract more customers.
- Save Time: Create models faster than traditional methods.
- Enhance Creativity: Experiment with designs without physical prototypes.
- Improve Marketing: Use 3D models for ads, websites, and social media.
Step-by-Step Guide to Creating 3D Product Models with Polymuse
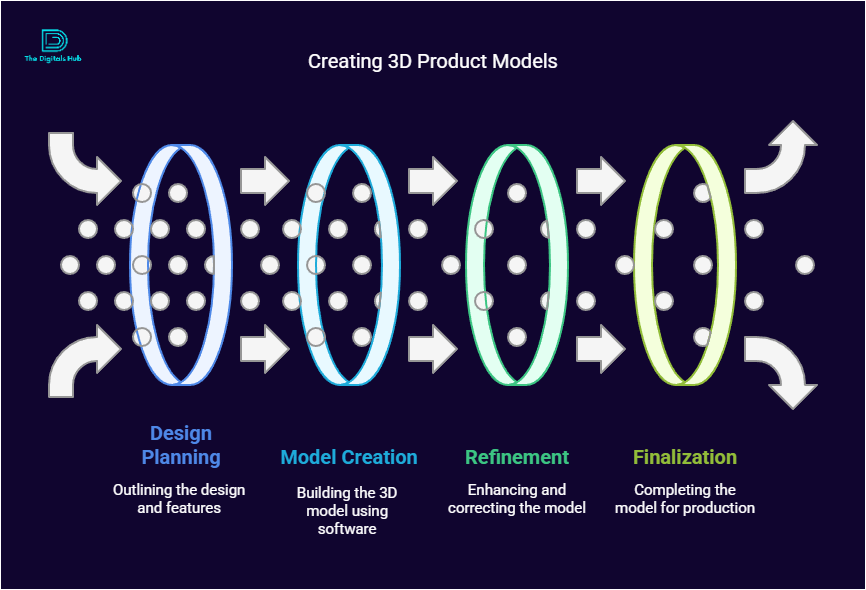
1. Set Up Your Polymuse Account
- Visit the Polymuse website and sign up for an account.
- Choose a plan that suits your needs (free or paid).
- Download and install the software if required.
Pro Tip: Start with the free version to explore the features before upgrading.
2. Understand the Interface
- Dashboard: Access all tools and projects from here.
- Toolbar: Find tools for drawing, shaping, and editing.
- Viewport: The main area where you create and view your 3D model.
- Properties Panel: Adjust dimensions, colors, and textures.
Call to Action: Spend 10-15 minutes exploring the interface to get comfortable.
3. Start a New Project
- Click on “New Project” and select the type of product you want to create (e.g., furniture, electronics, clothing).
- Choose a template or start from scratch.
Pro Tip: Use templates for common products to save time.
4. Create the Basic Shape
- Use the Shape Tools to draw the outline of your product.
- For example, use a cube for a boxy product or a sphere for rounded items.
- Adjust the size and proportions using the Properties Panel.
Call to Action: Keep it simple at this stage. Focus on getting the basic shape right.
5. Add Details
- Use the Extrude Tool to add depth and dimensions.
- Add finer details like buttons, logos, or patterns using the Sculpting Tools.
- Use the Boolean Tool to cut out shapes or combine objects.
Pro Tip: Zoom in for precision when adding small details.
6. Apply Textures and Colors
- Go to the Materials Library and choose textures (e.g., wood, metal, fabric).
- Use the Paint Tool to apply colors to specific areas.
- Adjust glossiness, transparency, and other material properties for a realistic look.
Call to Action: Experiment with different textures to see what works best for your product.
7. Lighting and Shadows
- Add light sources to your scene to highlight key features of your product.
- Adjust the intensity and direction of the light for realistic shadows.
- Use HDRI Lighting for more natural effects.
Pro Tip: Good lighting can make your model look professional and appealing.
8. Render Your Model
- Click on the Render Button to generate a high-quality image of your 3D model.
- Choose the resolution and file format (e.g., PNG, JPEG).
- Wait for the rendering process to complete.
Call to Action: Save multiple versions of your render for different uses (e.g., web, print).
9. Export and Share
- Export your 3D model in a compatible format (e.g., OBJ, FBX, STL).
- Share it on your website, social media, or with clients.
- Use it in presentations or for 3D printing.
Pro Tip: Check the file size before sharing to ensure it’s optimized for the platform.
Tips for Creating Stunning 3D Models
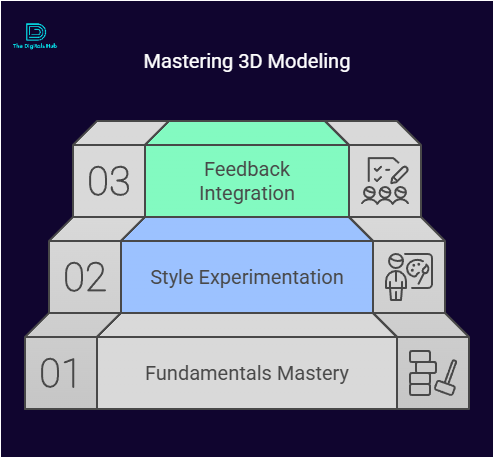
- Keep It Simple: Avoid overloading your model with unnecessary details.
- Use References: Study real-life products or photos for inspiration.
- Practice Regularly: The more you use Polymuse, the better you’ll get.
- Stay Updated: Check for software updates and new features.
Applications of 3D Product Models
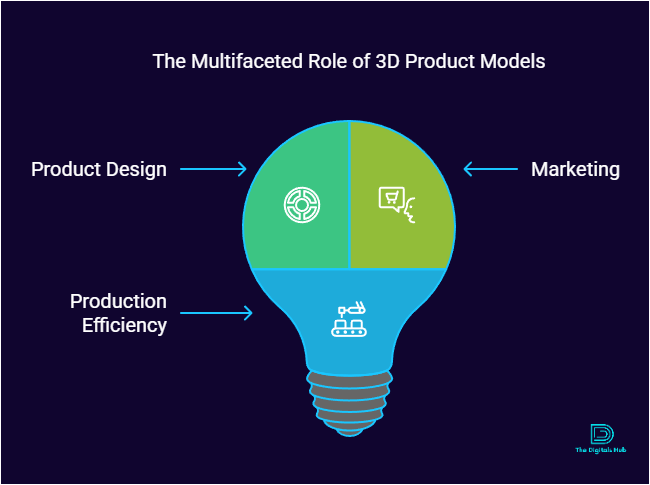
- E-commerce: Showcase products in 3D on your online store.
- Advertising: Create eye-catching ads with 3D visuals.
- Prototyping: Test product designs before manufacturing.
- Gaming and AR/VR: Use models in games or augmented reality apps.
Why Choose Polymuse Over Other Tools?
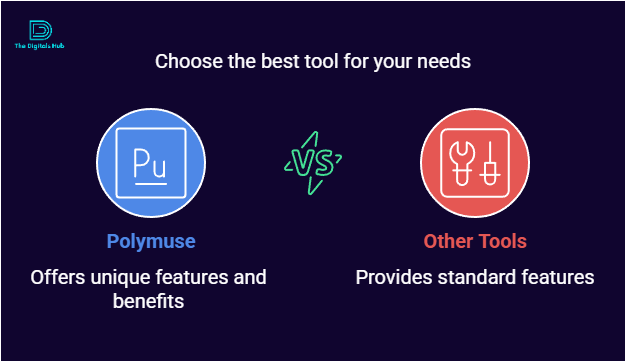
- Ease of Use: Perfect for beginners and professionals alike.
- Affordability: Cheaper than many high-end 3D software.
- Versatility: Suitable for a wide range of industries.
- Community Support: Access tutorials, forums, and customer support.
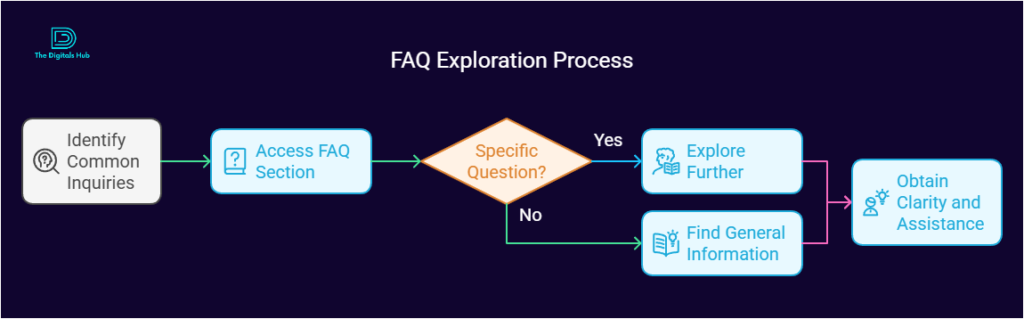
Frequently Asked Questions (FAQs)
1. Do I need prior experience to use Polymuse?
No, Polymuse is designed for users of all skill levels. Beginners can start with templates and tutorials.
2. Can I use Polymuse for 3D printing?
Yes, you can export your models in STL format for 3D printing.
3. Is Polymuse available on mobile?
Yes, Polymuse offers mobile-friendly versions for on-the-go designing.
4. How much does Polymuse cost?
Polymuse offers free and paid plans. Paid plans start at $XX/month (check their website for current pricing).
Conclusion
Creating 3D product models with Polymuse is a fun and rewarding process. Whether you’re designing for business or personal projects, Polymuse provides all the tools you need to succeed. Start your 3D modeling journey today and bring your ideas to life!
Call to Action: Ready to create your first 3D model? Sign up for Polymuse now and explore its features for free!
This guide is designed to be easy to read and understand, with clear steps and helpful tips. Whether you’re a beginner or an experienced designer, Polymuse can help you create stunning 3D product models. Happy designing!
Recent Comments