
Are you looking for an easy way to start using TextLink for your SMS marketing campaigns? Look no further! This simple yet detailed tutorial will guide you through the steps to get the most out of this powerful tool. By the end of this guide, you’ll know exactly how to use TextLink to grow your business and connect with your customers.
Table of Contents
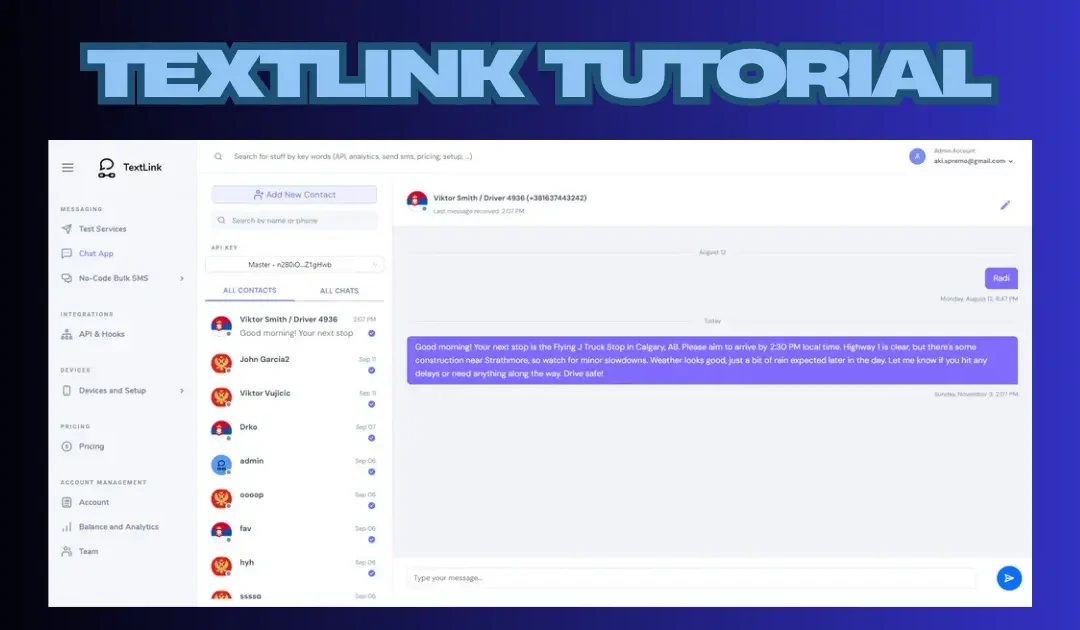
What is TextLink?

TextLink is an SMS marketing platform designed to help businesses send personalized messages to their audience. Whether you want to promote sales, remind customers about events, or share updates, TextLink makes the process quick and effective.
Why Use TextLink?

Before diving into the tutorial, here are some reasons to choose TextLink:
- Simple to use: A beginner-friendly interface.
- Automation tools: Save time with scheduled messages.
- Personalization options: Create customized messages.
- Analytics dashboard: Track the performance of your campaigns.
Step 1: Setting Up Your TextLink Account
To get started with TextLink:
- Sign Up: Visit the TextLink website and create an account.
- Confirm Your Email: Check your inbox for a confirmation email and follow the link to verify your account.
- Login to Your Dashboard: Use your credentials to access the TextLink dashboard.
Step 2: Adding Your Contacts
Your contacts are the backbone of your SMS campaigns. Follow these steps to upload them:
- Import Contacts: Go to the “Contacts” section in your dashboard and upload your contact list. You can use a CSV file for bulk uploads.
- Segment Your Audience: Create groups based on demographics, purchase behavior, or preferences. This allows for targeted messaging.
Pro Tip: Always get customer consent before sending messages to comply with SMS marketing regulations.
Step 3: Creating Your First SMS Campaign
Now it’s time to send your first message:
- Go to Campaigns: Click on the “Campaigns” tab.
- Choose Your Audience: Select the segment you want to target.
- Write Your Message:
- Keep it short and clear.
- Use personalization, like including the customer’s name.
- Add a call-to-action (CTA), such as “Click here to shop now!”
- Schedule or Send: Decide whether to send the message immediately or schedule it for later.
Step 4: Automating Your SMS Campaigns
TextLink’s automation feature helps you save time by:
- Setting Recurring Campaigns: For reminders, such as weekly offers.
- Scheduling Bulk Messages: Plan campaigns weeks in advance.
Example: Use automation to send birthday discounts or holiday promotions.
Step 5: Tracking Campaign Performance
After sending a campaign, it’s important to measure its success. TextLink provides a detailed analytics dashboard:
- Delivery Reports: Check how many messages were successfully delivered.
- Engagement Metrics: Track open rates, click-through rates, and responses.
- Optimize Future Campaigns: Use this data to improve your messaging and timing.
Tips for a Successful SMS Campaign with TextLink

- Write Engaging Messages: Start with a hook that grabs attention.
- Timing Matters: Send messages when your audience is most active, such as mornings or lunch breaks.
- Avoid Overloading: Don’t send too many messages, as this can annoy your customers.
Common Questions About Using TextLink
1. Can I integrate TextLink with other tools?
Yes! TextLink offers integration with CRM tools and other platforms, making it easy to manage workflows.
2. Is there a limit to the number of messages I can send?
The limit depends on your chosen plan. Check TextLink’s pricing page for details.
3. How can I ensure my messages comply with regulations?
Always include an option for customers to opt-out and only send messages to those who have given consent.
Why TextLink is a Game-Changer for SMS Marketing

TextLink simplifies SMS marketing with its user-friendly design, powerful features, and reliable support. Compared to other tools, it stands out for its ease of use and affordability.
Call to Action
Ready to make the most of SMS marketing? Try TextLink today and watch your engagement soar!
Visit the TextLink product page to start your journey now.
Recent Comments